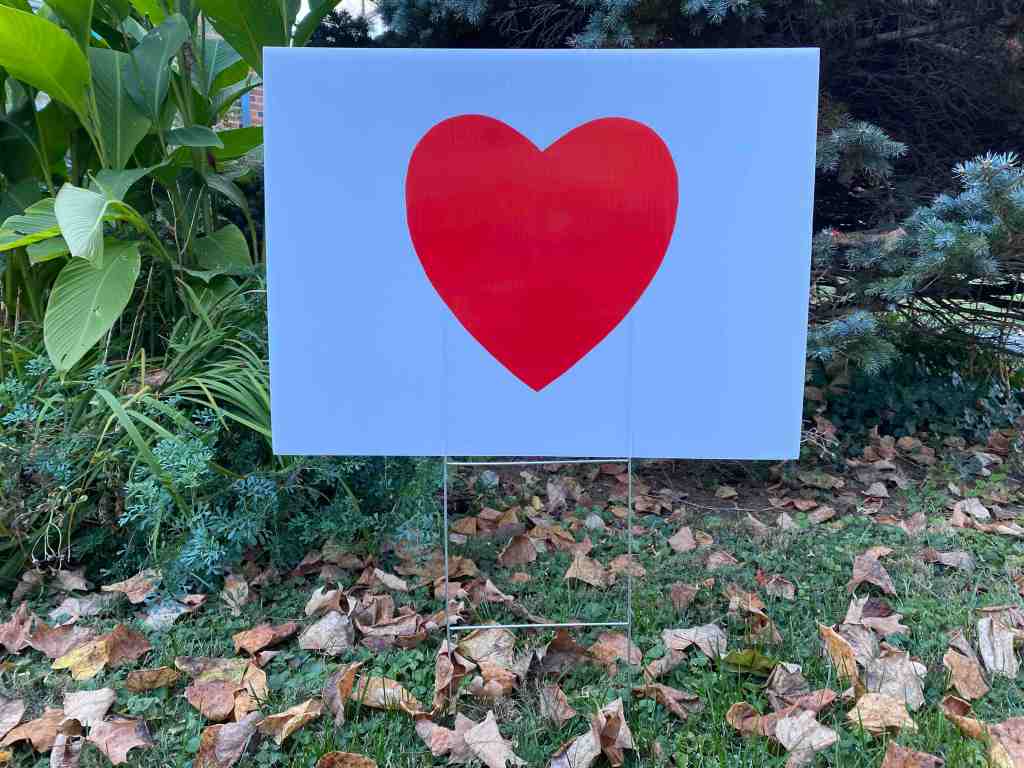
Here are some instructions for how to make a heard sign created by our wonderful artist neighbor. You could follow these instructions, consult with a graphic artist, or use your creativity to make one any way you like.
Post pictures of you heart sign on social media with the hashtag #heartyardsigns so we can see them!
Below are instructions for making ten 21 x 18 inch horizontal yard signs with hearts on one side.
Materials
(These are the materials I used. You may be able to find other sources)
- Adhesive red vinyl: Oracal roll 12 inches x 10ft $11
- White, corrugated plastic yard signs with metal H stakes (24 x 18″): Wenwell 10 yard signs (18 x 24 inches) $29.99
- Sheet of paper, 24 x 18″
- Adhesive tape (Blue painters tape is best)
- X-Acto knife or scissors
- Cutting mat if using X-Acto knife
- Ruler/measuring tape
- Pencil
- Paper towels (damp) to clean dust off the plastic sign boards
Making your template
Make your template on 24 x 18″ paper. This template will be used to make your red hearts and also to help to mark the placement of the adhesive hearts on the sign boards. Please note that the width of the heart shape cannot exceed the width of the roll of red vinyl. The vinyl roll I used was actually slightly narrower than the advertised 12 inches.

Begin by marking the center line of the heart shape (red line). An easy way to do this is to fold the paper in half so that each half measures 12 x 18 inches.

Mark 5 +15/16 inches from the center line in both directions (left and right, blue lines. This will be the maximum width of the heart shape.

Mark 3 inches up from the bottom along the center fold. This green line marks the bottom point of the heart.
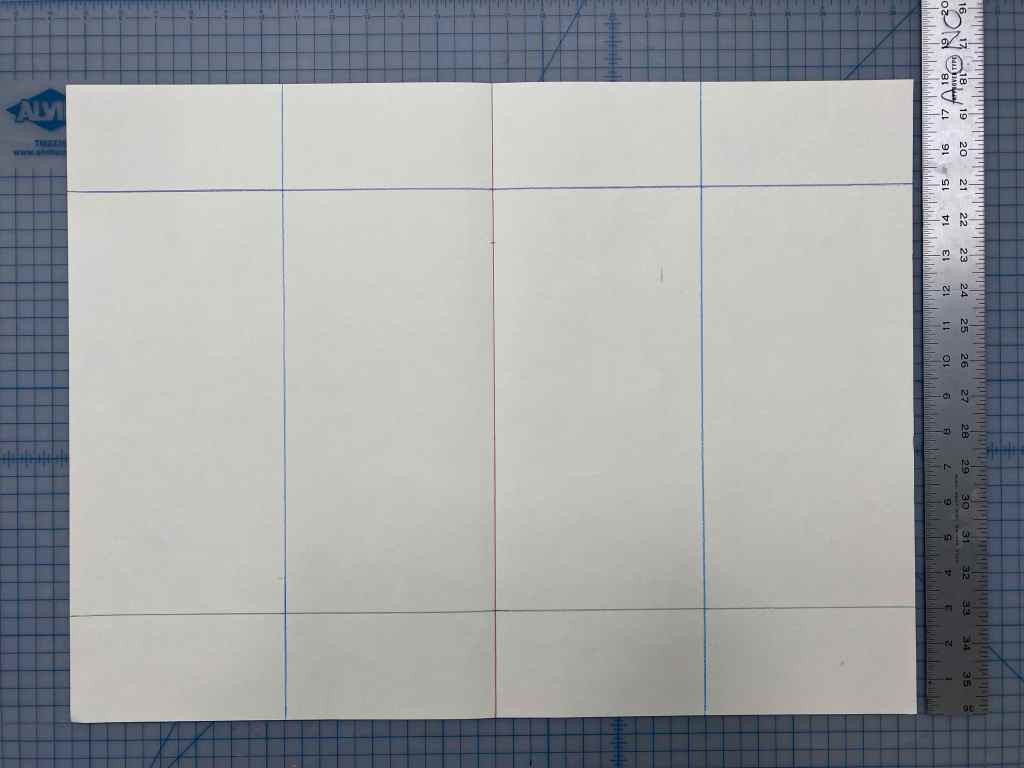
Mark a horizontal line 3 inches down from the top edge of the paper. This purple line marks the maximum height of the heart shape.
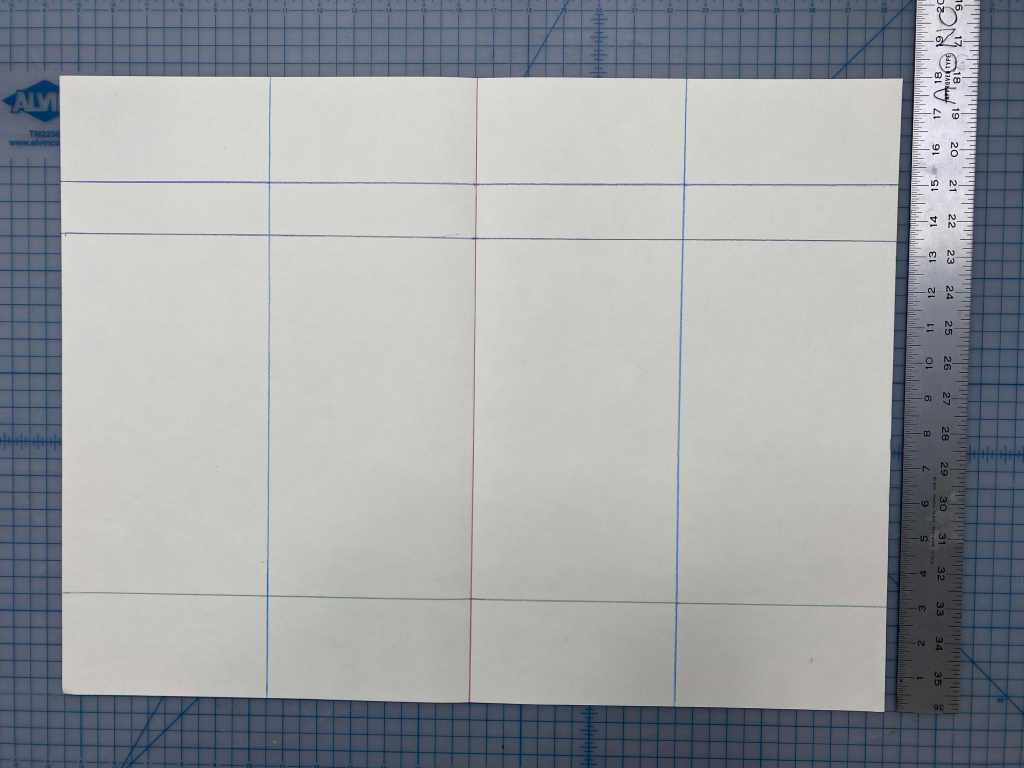
Mark another horizontal line 4.5 inches down from the top edge. This dark blue line marks the center dip in the heart shape.

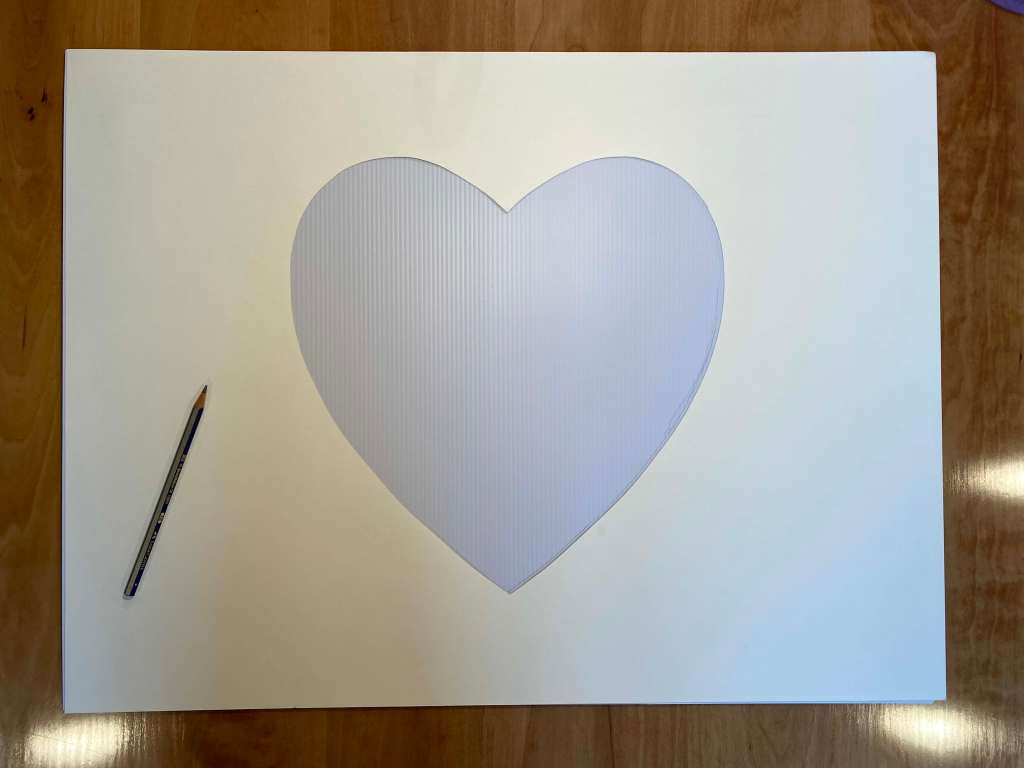
Draw your heart shape. You can use the folded edge as the midline of half your heart shape. This way you can make sure your heart is symmetrical. Now is the time to make sure your heart is drawn correctly.

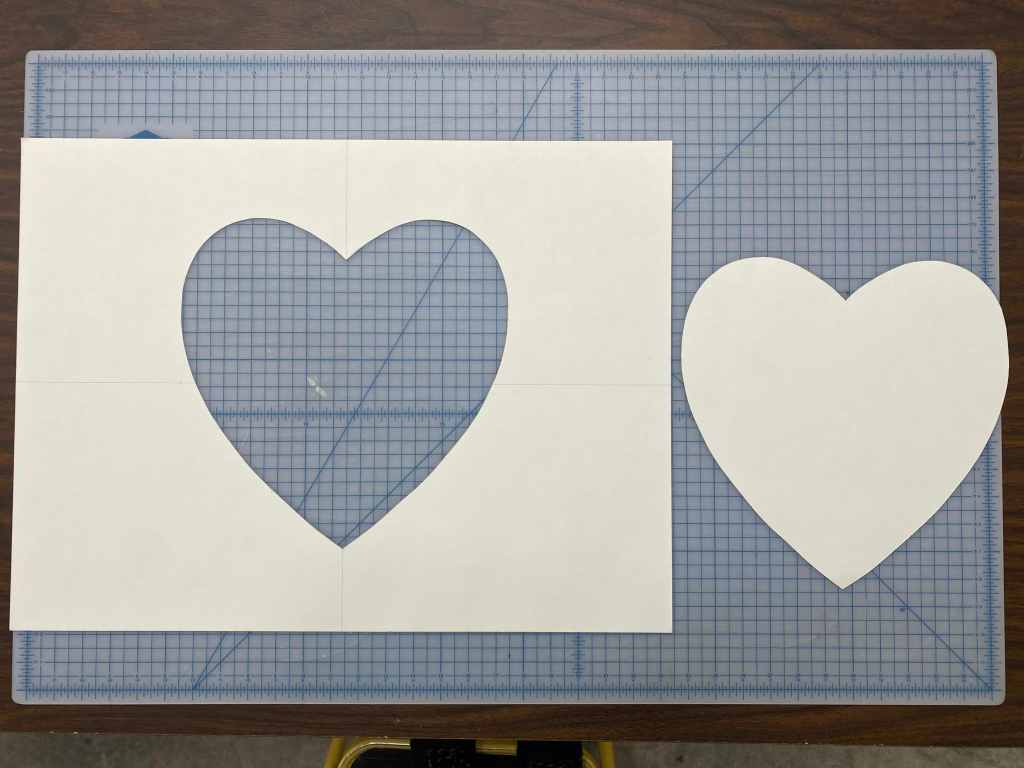
Carefully cut the heart from the folded paper. Remember, you will need both the positive (heart shape) and negative (background shape) parts of the 24 x 18 inch paper.
Cutting the red vinyl hearts
You should be able to get as many as eleven hearts from a ten foot roll. The vinyl has a paper backing that will later be peeled off to reveal the adhesive side.
Lay the vinyl paper-side-up, red side down on a table (or cutting matte if you are using an X-Acto knife). You will need to tape the vinyl down to keep it from curling.

Lay your heart template on the paper side of the vinyl, with the top of the heart almost to the edge of the start of the roll and trace heart shapes “nesting” in each other along the roll. You should be able to get at least ten hearts from one ten foot roll of vinyl. It can help to draw a center line along the length of the roll to keep the hearts centered.
Cut the vinyl hearts with either an X-Acto knife or scissors.
Adhering hearts to sign boards
Clean off dust from the white sign boards with a damp paper towel to ensure proper adhesion.
Use your paper template to mark out the position of the red heart. I use a light pencil line to mark the bottom “V” and Center top divot of the Heart for positioning.

This next step is best done with two people. Begin by starting to peel a small amount of the backing paper from the bottom point of a red heart. Do not remove the entire backing at one time. While one person positions the adhesive point of the heart in place and gently smooths out the vinyl with both hands, the other person can slowly peel the paper from the vinyl.
If you see that you have positioned the vinyl incorrectly, and haven’t stuck too much down, you can gently pull it off and start over. There shouldn’t be bubbles or wrinkles in the vinyl.
Congratulations! You’ve made a heart sign! ♥️